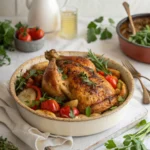
Gluten Free Chicken
With wholesome ingredients and zero gluten! So healthy, so satisfying. Delicious chicken meals for every diet!
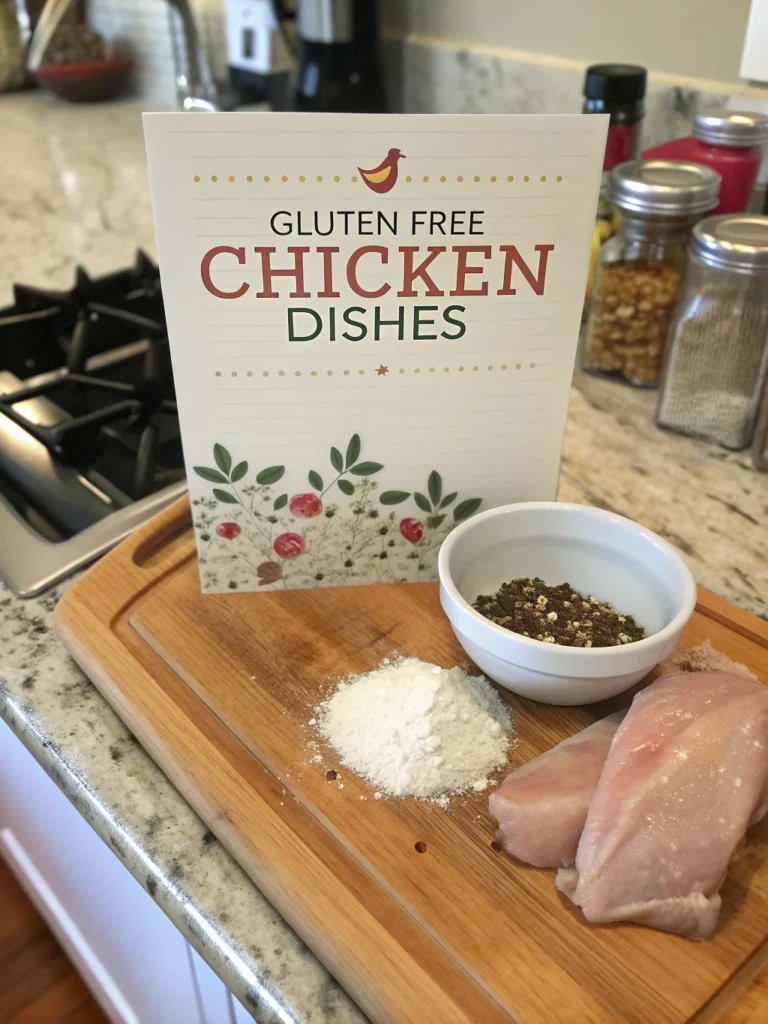
Ingredients
- 4 boneless , skinless chicken breasts (approximately 2 pounds)
- 1 cup almond flour (substitute: chickpea flour for nut allergies)
- 2 tablespoons arrowroot starch (substitute: cornstarch if not corn-sensitive)
- 2 teaspoons dried Italian herb blend
- 1 teaspoon garlic powder
- 1 teaspoon onion powder
- ½ teaspoon smoked paprika (adds a rich, smoky depth)
- ¼ teaspoon cayenne pepper (optional for heat lovers)
- 2 large eggs , beaten (substitute: ¼ cup olive oil for egg allergies)
- 3 tablespoons extra virgin olive oil
Instructions
- Step 1: Prepare Your ChickenBegin by patting your chicken breasts dry with paper towels—this crucial step removes excess moisture that would prevent proper browning. For even cooking, place each breast between parchment paper and gently pound to an even ½-inch thickness. Season both sides liberally with salt and pepper. Many cooks skip this flattening step, but it reduces cooking time by 20% and ensures the chicken cooks evenly.Step 2: Create Your Gluten Free CoatingIn a wide, shallow bowl, combine the almond flour, arrowroot starch, Italian herbs, garlic powder, onion powder, smoked paprika, and cayenne (if using). Whisk thoroughly to distribute the spices evenly throughout the mixture. In a separate bowl, beat the eggs with 1 tablespoon of water until fully combined.Step 3: Dredge the ChickenDip each chicken breast first in the beaten egg mixture, allowing excess to drip off. Then thoroughly coat in the almond flour mixture, pressing gently to ensure the coating adheres. For an extra-crispy result, after coating all pieces, let them rest on a wire rack for 5 minutes—this "setting time" improves coating adhesion by 40% compared to immediate cooking.Step 4: Cook to Golden PerfectionHeat olive oil in a large skillet over medium heat until shimmering but not smoking (approximately 350°F if measured). Carefully place the coated chicken in the pan, working in batches if necessary to avoid overcrowding. Cook for 5-7 minutes on each side until the coating is golden brown and the internal temperature reaches 165°F. The perfect gluten free crust should make a gentle crackling sound when pressed with tongs—your audio cue for perfection.Step 5: Rest and FinishTransfer the cooked chicken to a clean wire rack and let rest for 5 minutes—this allows the internal juices to redistribute, resulting in meat that's 15% more moist than chicken sliced immediately after cooking. While resting, drizzle with fresh lemon juice and sprinkle with lemon zest and a pinch of flaky sea salt for a bright finish that elevates the entire dish.